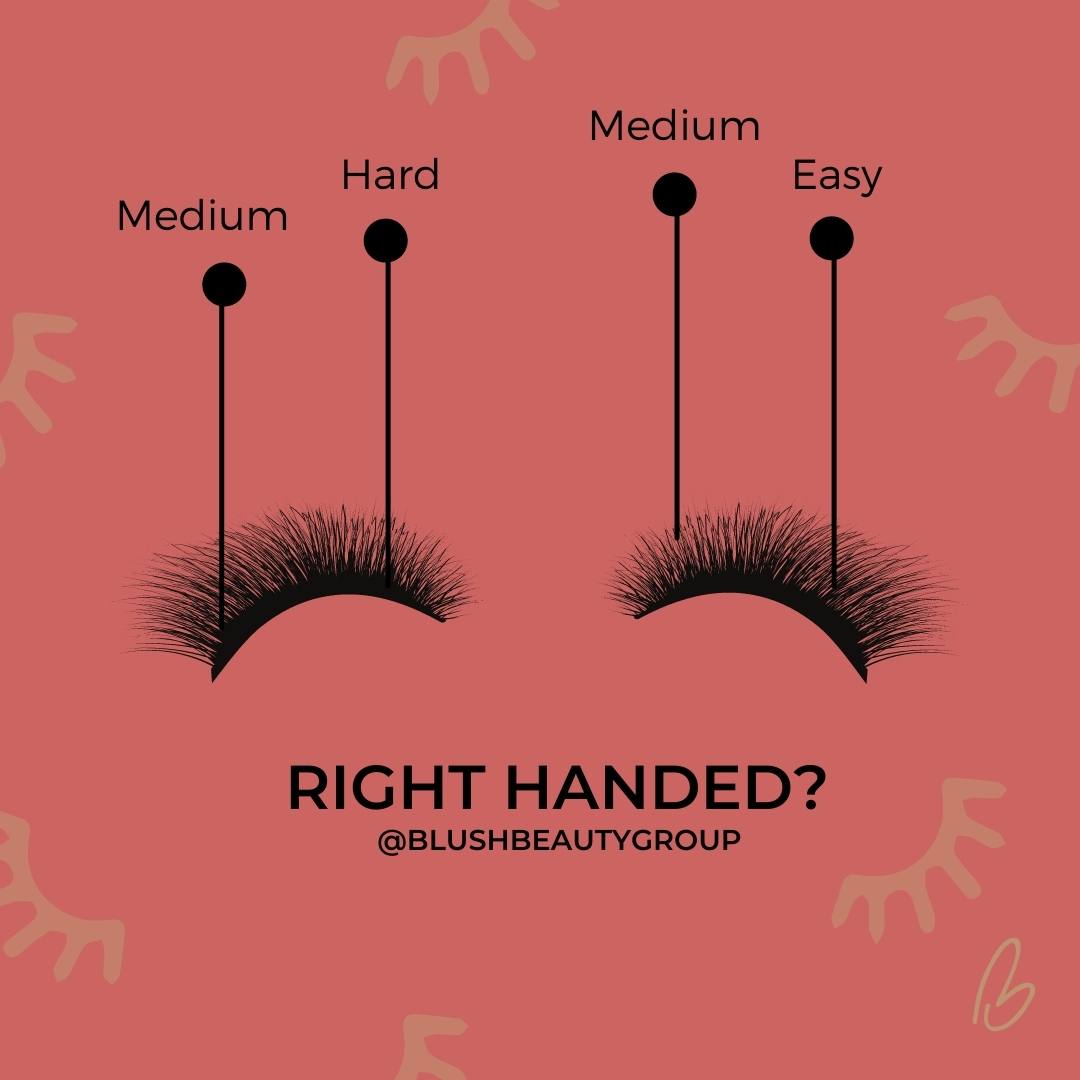
Top Tips for Lash Placement - Right & Left Handed
·

·
Calling all lash newbies!
Have you completed your lash course & finding lash placement hard? Here's our top tips to help you through!
- Firstly my top tip is to spread out your work, start on your easiest section but always try the areas you find hard too! The last thing you want is uneven lash placement & you don't want to be struggling in your final 30 minutes filling up an area you find difficult to apply to!
- Secondly- move around! The hardest section for right handers is the left inner corner- turn your left shoulder back slightly away from your client so you have a better angle with your isolation tweezers. For left handers it is the opposite- your right inners are the hardest, so turn your right shoulder back slightly away from your client.
- Thirdly play around with the grip on your lash tweezers. I always teach to ensure your grip is at a good position to have good control of the tweezers but when it comes to the harder areas to apply to the nose can get in the way! Unfortunately we can't do much about the nose, so take your grip slightly higher on the tweezers once you have picked up your lash!
- Finally, if you are struggling with any area on the lash line, don't be frightened to move or ask your clients to move their head slightly which will help with the isolation and angle of which you are applying.
Recommendations
If you're new to lashing & wondering what the best tweezers to use are, I would personally recommend an L shape tweezer that will improve your angles and make picking up lashes easy! You can find ours HERE!
Don't forget to give us a follow on INSTAGRAM or FACEBOOK to keep up to date with our top tips!
Thanks for reading!
Jo xx


